How to Export Your Maps to Use in the Field
Using SilviCultural’s GIS Mapping program, you can export maps into GeoTIFF files to use to navigate and collect data out in the field, even when you don’t have any signal. All you need is a GPS-capable mobile device and a special app. Here is a quick tutorial on how to do that.
1. Export Your Map to GeoTIFF
The first step is to export your map to GeoTIFF. You can do this by clicking “Export” on the top of your left-hand legend and then clicking “Export to GeoTIFF,” as seen below.
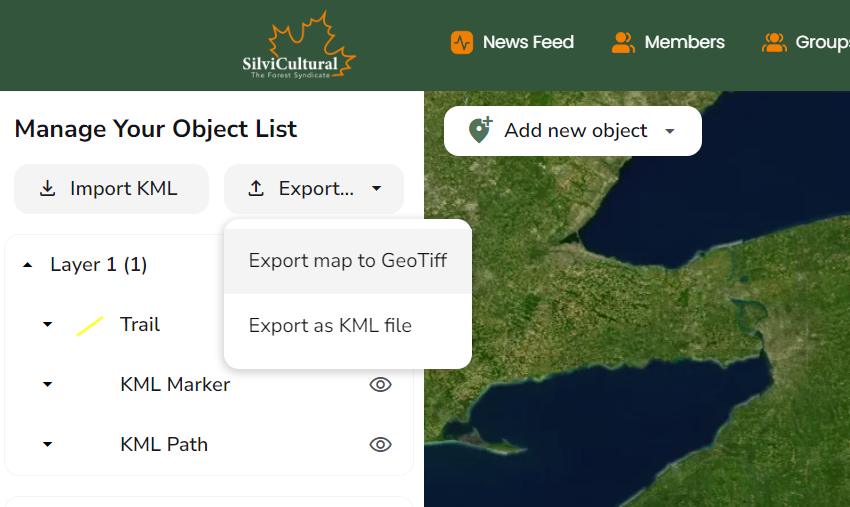
Note that this function will export whatever view is currently present in your map view, so be sure to adjust it to the correct position and scale, as you require.
2. Download Avenza
The GeoTIFF file is a geo-referenced image file that be used with your phone’s GPS, but you will require a special app on your phone to use this functionality. My recommendation is Avenza Maps, which has a robust free version that will suit the needs of virtually anyone. Notably, I used this app for professional field work for years.
3. Import Your GeoTIFF
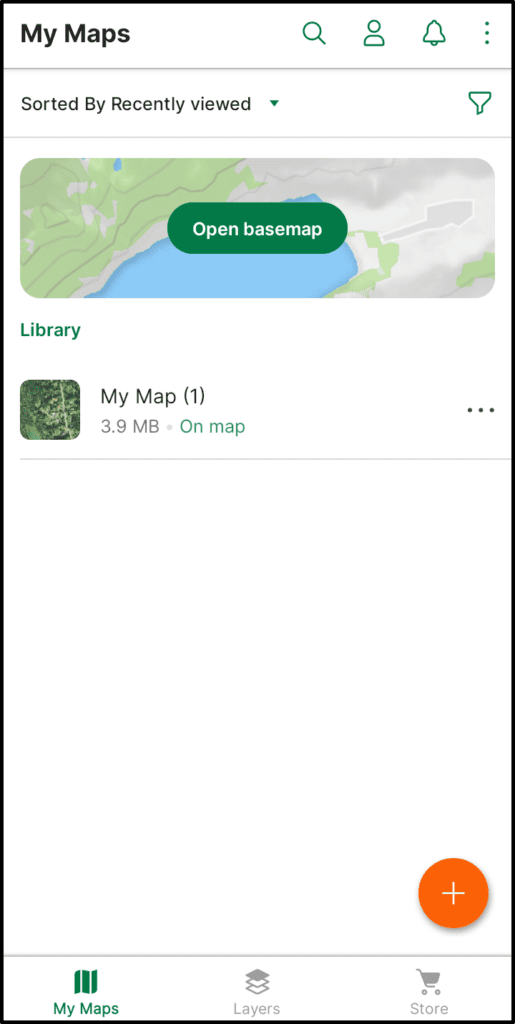
When you first open the map, you will see an interface like below:
Begin by clicking on the orange + button on the bottom right. This will open up the following interface

From here you can hit “Cloud storage or device.” Note that you will have to find a way to transfer the file from your computer to your phone. If you have a cloud storage app, this will work fine, otherwise, you may need to email yourself the file from your computer and open it up and download it on your phone.
Once the file is on your phone, search the folder where it is downloaded and open it with Avenza.
4. Open Your Map
Once imported, you should see your map in your library of maps as below. Go ahead and open it.
5. Use Your GeoTIFF to Navigate and Collect Data
Even if you don’t have any signal, your phones GPS can still work, and your GPS position will be shown as a blue dot on the map (assure you allow Avenza GPS permissions). From there, you can click on the pencil and ruler in the bottom left corner to see the functionalities you can use.
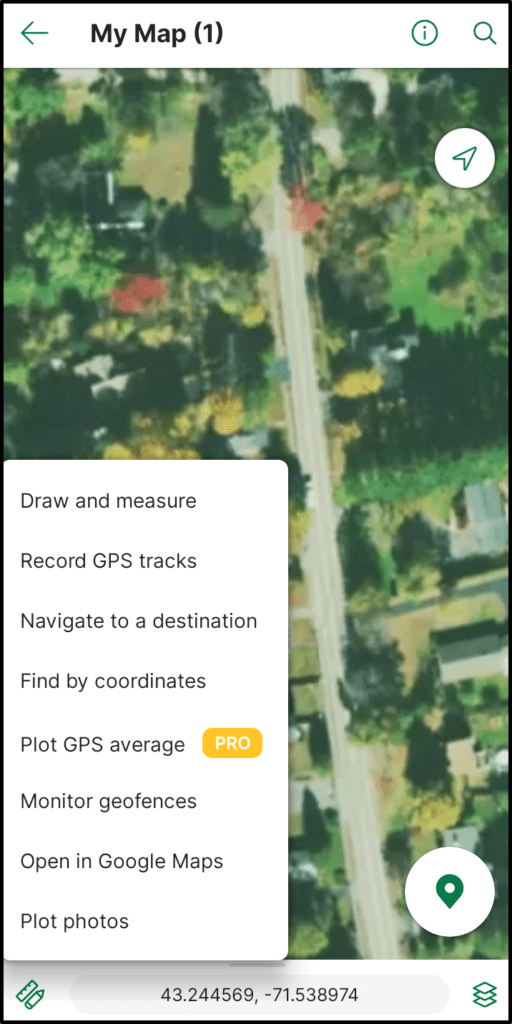
One of the most useful functionalities is tracking. Hit “Record GPS tracks” to open up the tracking interface.
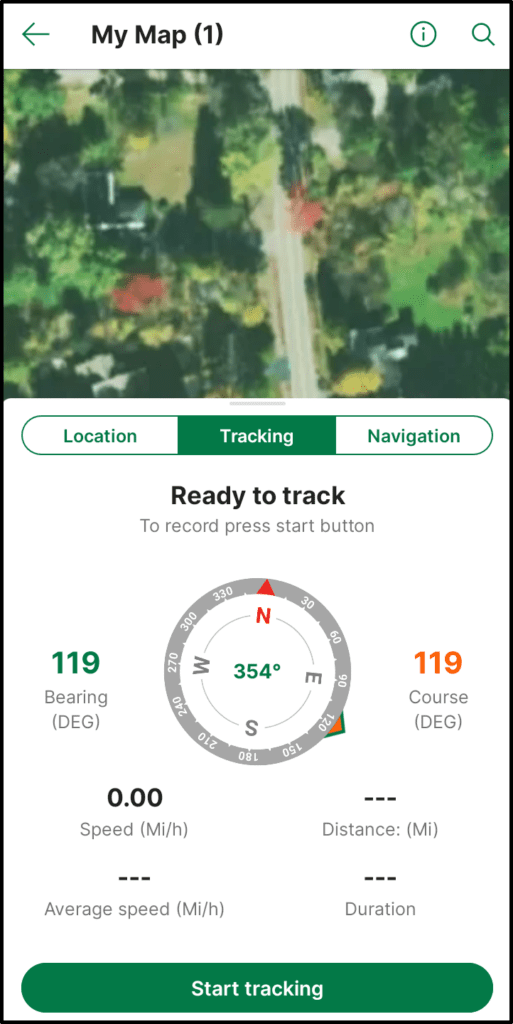
This interface allows you to record tracks as well as navigate to specific points. Give it a try!
That’s All There Is to It!
It may be a bit slow the first time you try, but once you get the hang of it, it will be second nature, as it is a fairly intuitive system. Have fun!